Camping Trailer: Complete Buyer’s Guide
A camping trailer is the most affordable entry into RV travel, but the standard advice—”pick a trailer your vehicle can tow”—is dangerously incomplete. It ignores payload, tongue weight, and the electrical realities of actually camping off-grid. This guide gives you a grounded, skeptical view of what you’re buying and what can go wrong.
First, a critical boundary: this guide applies to conventional travel trailers under 30 feet and under 5,000 lb GVWR. If you’re looking at pop-up campers, truck campers, or fifth wheels, the buying criteria shift significantly—different payload math, different hitch requirements, and different electrical baselines. The advice below assumes a bumper-pull camping trailer with a single axle or tandem axles, intended for weekend-to-weeklong trips with moderate to full hookup access.


Who Actually Benefits—and Who Should Walk Away
Camping trailers attract first-time buyers, weekenders, and families who already own a midsize SUV or half-ton pickup. The typical use case: 2–4 people, staying at state parks or private campgrounds with electric and water hookups available.
Good fit:
- Your tow vehicle has at least 500 lb of payload after you subtract every passenger and every item in the cab and truck bed.
- You camp mostly at established campgrounds with at least 30-amp shore power.
- You’re comfortable fixing minor issues yourself—or you have a dealer within an hour’s drive.
Bad fit:
- Your tow vehicle’s payload is under 400 lb after loading the family. A 3,500-lb dry-weight trailer typically puts 350–525 lb on the hitch. Add a 500-lb driver, another 300 lb of passengers, and you’ve already blown a common 1,500-lb payload rating.
- You plan to boondock or dry camp for more than two nights. Most camping trailers ship with a single group-24 battery and a 20-lb propane tank—fine for a weekend with hookups, not for extended off-grid use.
- You expect “one and done” reliability. Every new camping trailer I’ve inspected had at least three warranty claims in the first year—a leaky window seal, a faulty water pump, a loose fridge panel. The warranty is useful, but you will spend hours waiting on dealer service.
Counter-intuitive angle: The single most limiting factor isn’t towing capacity—it’s payload. A Ford F-150 with a 13,000-lb towing rating can be overloaded if you pack the truck bed and cab. The practical implication is clear: skip browsing trailers until you’ve weighed your loaded tow vehicle at a truck stop. If your payload margin is under 300 lb after accounting for the trailer’s tongue weight, you need a smaller trailer or a different vehicle.

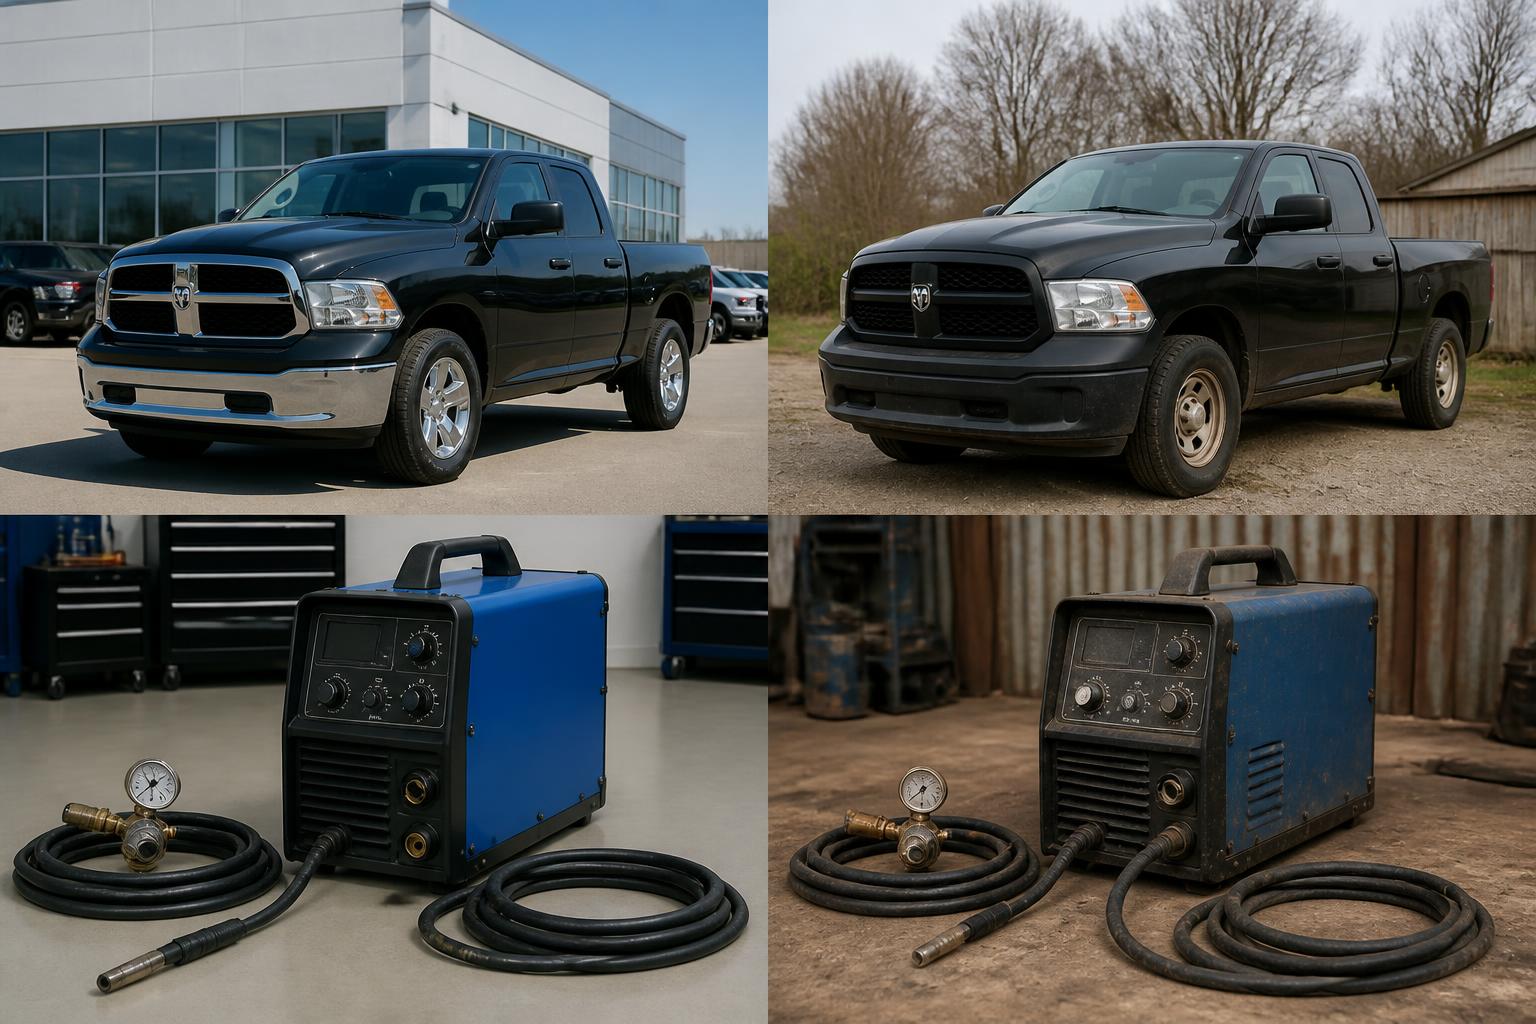
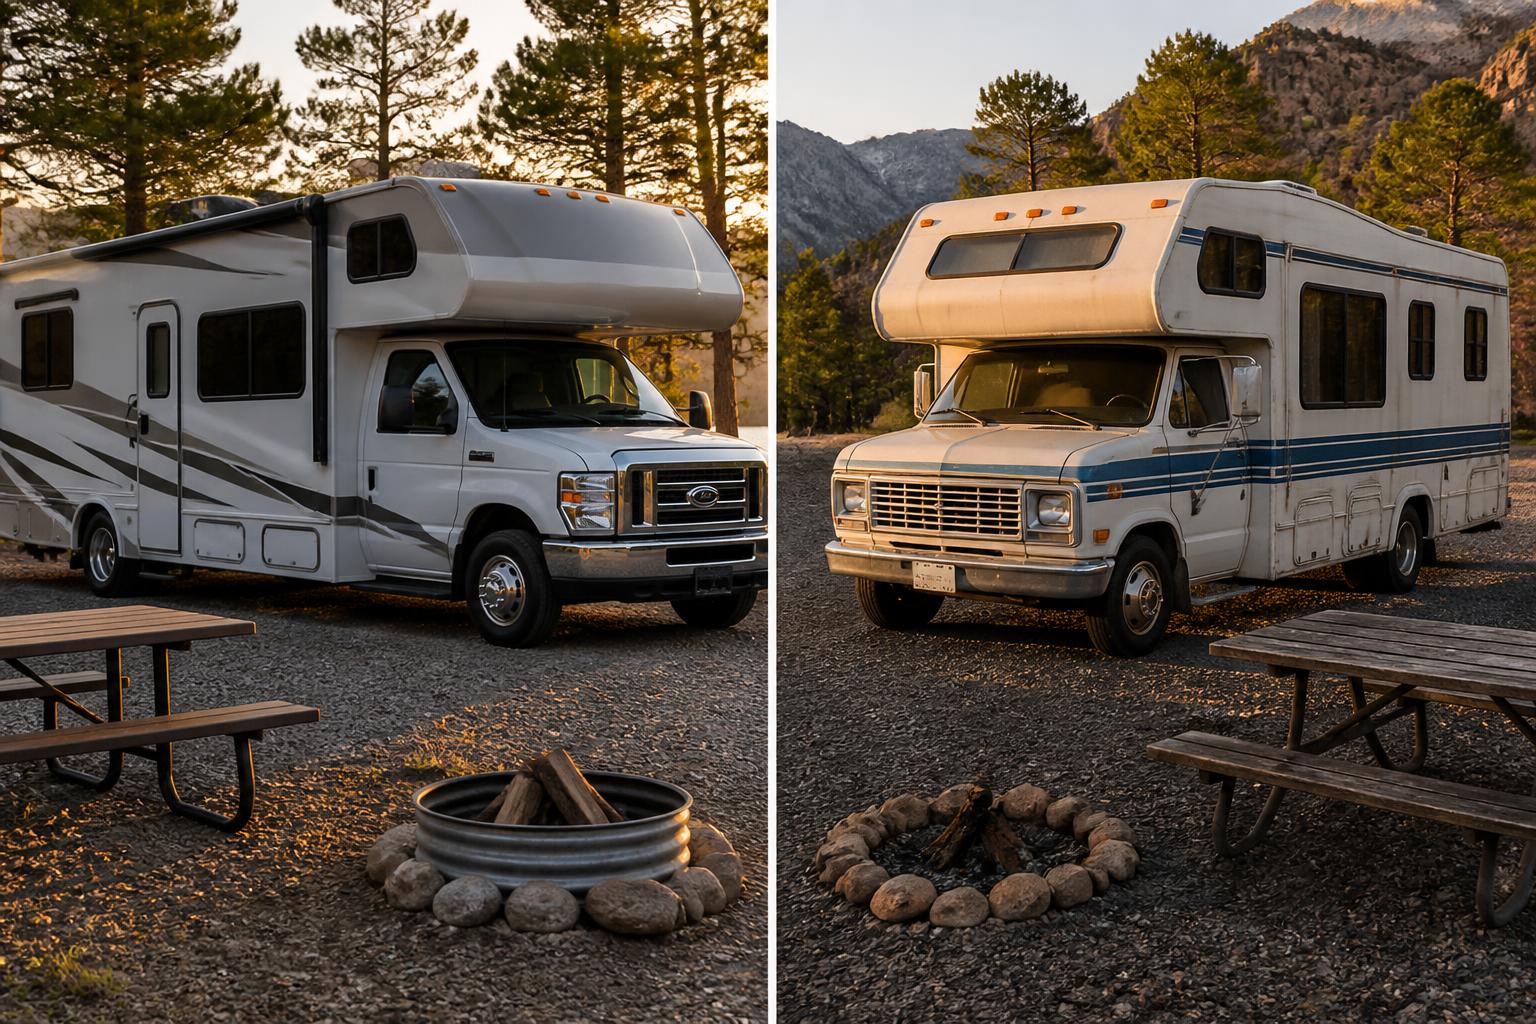
New vs. Used: The Depreciation Trap and Shakedown Reality
Camping trailers depreciate 30–40% in the first three years. A $25,000 trailer is worth roughly $15,000–17,500 after three seasons. That drop is brutal, but the used market offers real bargains—if you know what to inspect.
New: the warranty tradeoff
Buying new gets you a full manufacturer warranty (usually 1–3 years). The warranty is useful, but you’ll still deal with slow dealer service. If you’re not willing to handle minor repairs yourself, new is safer.
But here’s the mismatch most guides skip: The warranty typically covers parts but not labor for travel time, and many dealers are booked 4–6 weeks out for non-critical repairs. If your fridge dies on a July weekend, you’re either fixing it yourself or canceling the trip.
Used: avoid the deferred-maintenance trap
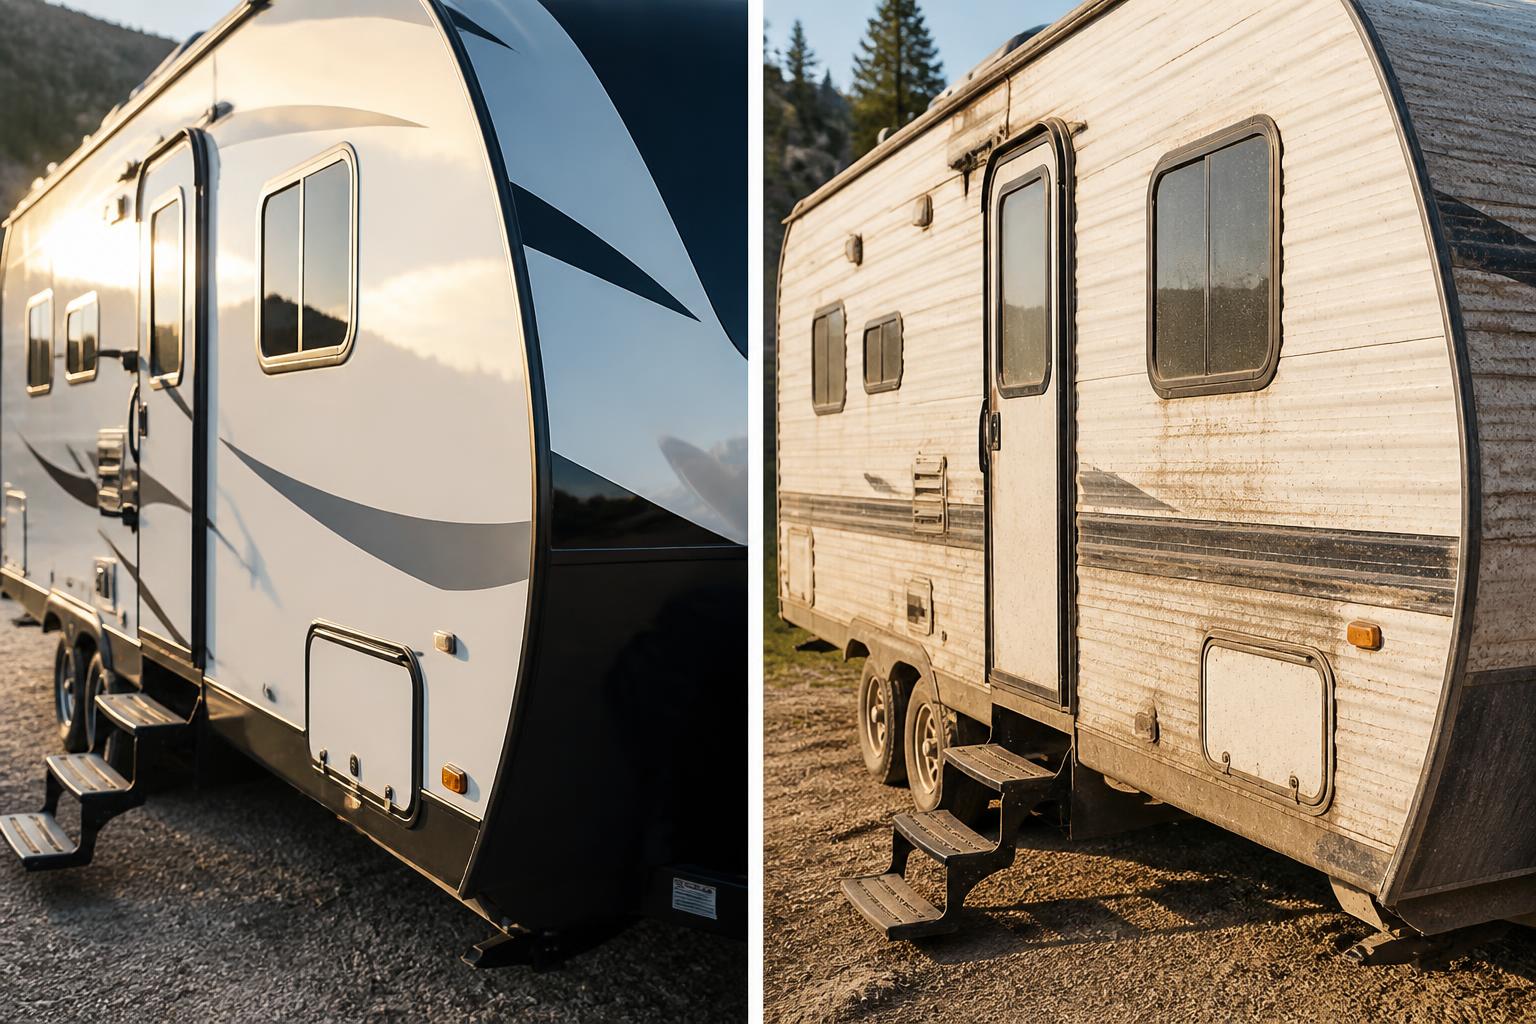
On a used trailer, check the tires first. Factory tires often last only 3–5 years regardless of tread. Replace them if the DOT date code shows they’re older than five years—even if tread looks fine. A blowout at highway speed can damage the wheel well, the underbelly, and nearby wiring.
Next, inspect the roof membrane and all caulked seams. Water damage is the number one killer of trailers, and it’s often hidden behind wallpaper or under laminate flooring. Press firmly on any soft spot; if it gives even slightly, assume hidden rot.
Extended warranties: rarely worth it
Dealers push extended warranties at 10–15% of the trailer’s price. Most exclude pre-existing conditions, cap labor rates, and require you to use the selling dealer. For a camping trailer under $30,000, set aside $1,000–1,500 for repairs instead. You’ll likely come out ahead.
Five critical checks before you buy
Use these pass/fail criteria during any inspection:
1. Roof condition – Look for blisters, tears, or stains near vents and AC unit. Pass = no visible seal failure. Fail = any wet spot or separation.
2. Appliance function – Test fridge on both propane and electric, run the AC for 15 minutes, and cycle the water heater. Pass = all three work. Fail = one doesn’t.
3. Floor integrity – Push down near slide-out seams, under the dinette, and around the toilet flange. Pass = firm everywhere. Fail = softness or sponginess.
4. Tire age – Check the DOT code (last four digits: week/year). Pass = less than 5 years old. Fail = 6 years or older.
5. VIN and title – Run a vehicle history report (Carfax or similar) for accident or salvage titles. Pass = clean title, no major accident. Fail = any indication of structural damage.
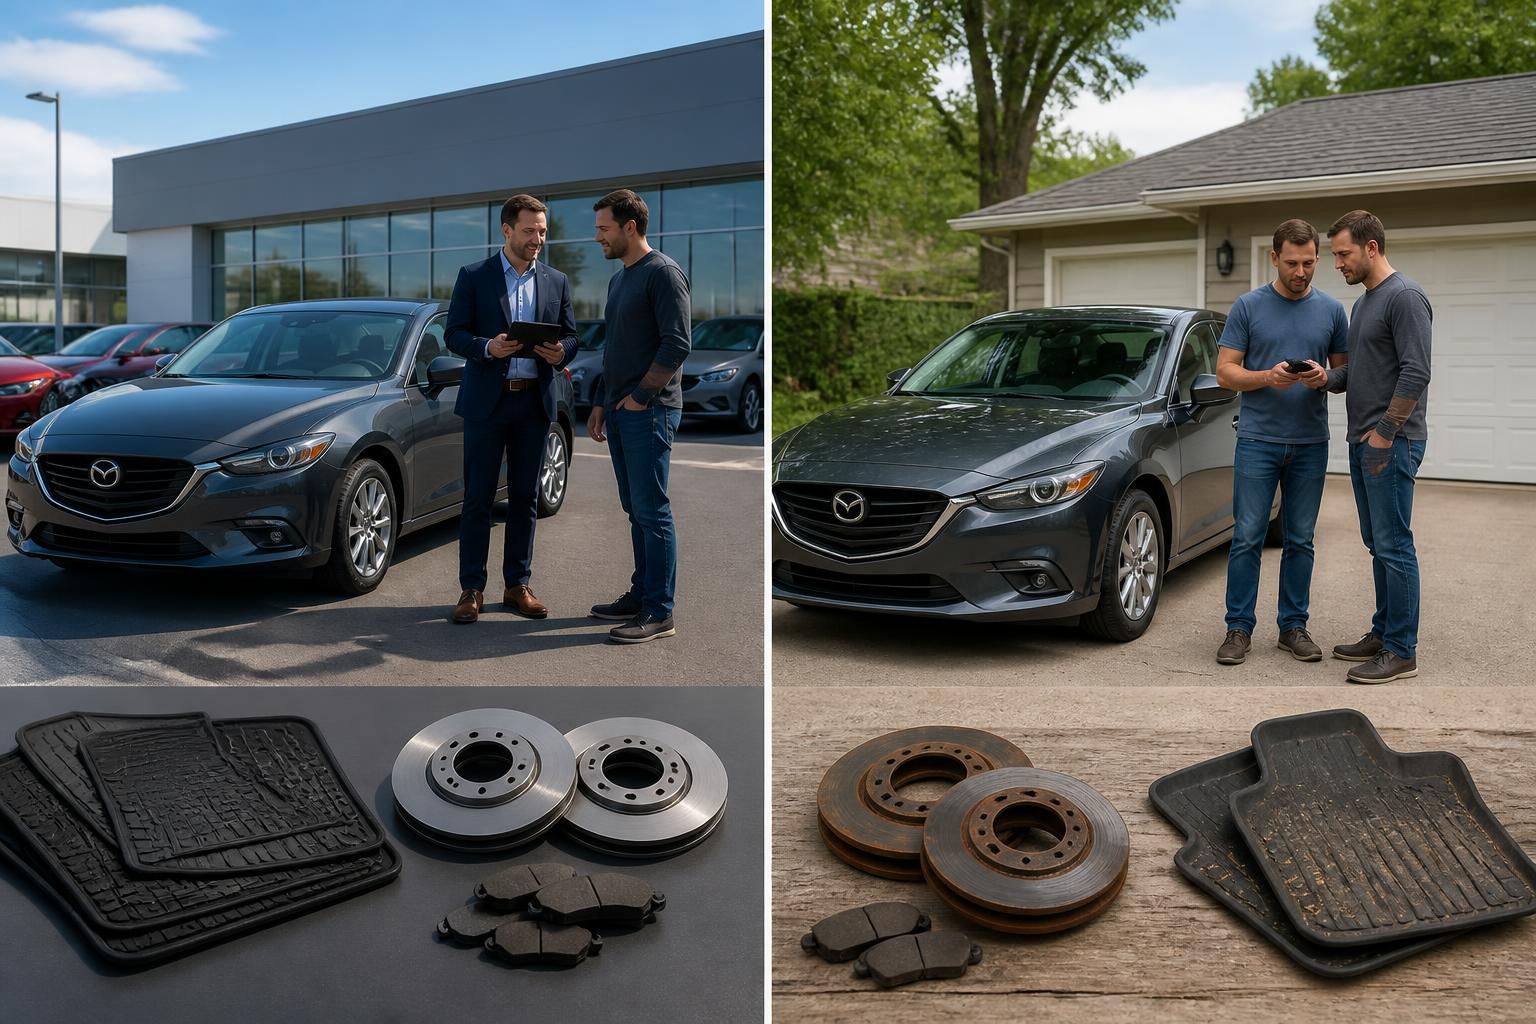
Where to Buy: Dealer vs. Private Seller
| Factor | Dealer | Private Seller |
|---|---|---|
| Price | 10–20% higher | Lower; no sales tax advantage in most states |
| Warranty | Factory included; optional extended | None unless leftover factory coverage |
| Inspection | PDI usually done | Full responsibility on buyer |
| Financing | Easier, but higher rates | Must arrange your own (credit union or bank) |
| Recourse | Limited; dealers not obligated to fix post-sale issues | Caveat emptor—once cash changes hands, no guarantees |
When to choose dealer: First-time buyer, or any purchase over $15,000 where you want warranty support. Ask for a copy of the PDI checklist and verify each item during delivery.
When to choose private seller: You have mechanical confidence, you’re paying cash, and you’ve done the five-point inspection above. Private listings often include upgrades—better battery, solar panel, weight distribution hitch—that add real value at no extra cost.
The Pre-Delivery Inspection: What Most Buyers Skip
A thorough PDI takes 2–3 hours. Don’t let the dealer rush you. If they resist, walk away.
Preparation
Bring a notebook, camera, multimeter, tire pressure gauge, and a water hose. Ensure the trailer is hitched to a vehicle that can power the 7-pin connector.
Early checkpoints
- Coupler and hitch – Verify the ball size matches the coupler. Check safety chains, breakaway switch (pull the pin, test the trailer brake activation), and electrical plug.
- Exterior lights – Turn on running lights, turn signals, brake lights, and clearance lights. Have a helper watch from behind.
- Leaks – Fill the fresh water tank and turn on the pump. Run all faucets, flush the toilet, and check under sinks and at the water heater. Look for drips at each connection.
Ordered steps
1. AC and furnace – Set thermostat to cool, verify cold air from vents. Switch to heat, listen for fan and igniter. Allow 5 minutes for propane purge.
2. Refrigerator – Switch to AC mode, confirm interior cools. Then switch to propane (if possible) and verify flame or electronic ignition.
3. Water heater – Turn on (electric, propane, or both). Wait 15 minutes and check for hot water at a faucet.
4. Electrical system – Plug into shore power. Test every 120V outlet with a multimeter or plug-in tester. Flip each breaker. Test the 12V lights, slide-out motor, and water pump on battery power alone (disconnect shore power).
5. Battery – With shore power off, measure battery voltage. Should read 12.4V–12.7V for a lead-acid battery. If below 12.2V, it’s weak. Check if the converter is charging (tester should see 13.2–13.6V when shore power is reconnected).
Likely causes of issues
- Burned-out bulbs or blown fuses in the power distribution panel.
- A bad ground at the hitch causing intermittent lights.
- A tripped GFCI outlet that kills all downstream receptacles.
- Propane regulator failing to flow (smell gas or hear no hiss).
Escalation signal
If you find mold, water-stained particleboard, soft floors, or cracked frame members, stop. Do not buy.
Success check
All appliances run, battery holds a charge, no leaks, lights work, and the breakaway brake engages when the pin is pulled.
Financing and Insurance: The Often Overlooked Costs
RV loans typically run 10–20 years with interest rates 2–4 points higher than car loans. Because trailers depreciate fast, you’ll be underwater for the first few years. A 15-year loan at 7% on a $25,000 trailer costs about $225/month. If you sell after three years, you’ll still owe more than the trailer is worth.
Better approach: Put down at least 20% and keep the term under 10 years. Or pay cash for a used trailer in the $10,000–15,000 range.
Insurance:
- If financed, you’re required to carry comprehensive and collision. For a $25,000 trailer, expect $300–600/year.
- For trailers under $30,000, liability-only plus comprehensive is often cheaper. But if the trailer is your only residence, full replacement cost may be necessary.
- Add roadside assistance specific to RVs (typically $75–100/year). Towing a trailer with a flat tire is not the same as towing a car.
Counter-intuitive: Many owners over-insure the trailer itself. The chassis is a commodity; the major value is in the appliances. A fire or total loss claim will pay out at depreciated value unless you’ve agreed “stated value” coverage. Read your policy exclusions carefully.
Battery and Electrical Setup for Camping Trailers
Most camping trailers come with a single group-24 lead-acid battery and a converter that charges it when connected to shore power. That setup is fine for a weekend with full hookups. It fails if you want to dry camp or run lights, the water pump, and the furnace fan for more than two nights.
The converter vs. inverter confusion
- The converter transforms 120V AC shore power into 12V DC to charge the battery and run lights/appliances.
- An inverter does the opposite—converts 12V DC battery power into 120V AC for outlets. Most camping trailers do not have an inverter. If you need to run a TV, microwave, or laptop off battery, you must add one.
Battery upgrades
- For moderate boondocking, replace the single group-24 with two 6V golf cart batteries wired in series. That gives 200–220 Ah (usable ~100 Ah) at 12V. Cost: about $200–300.
- For serious solar use, switch to a LiFePO4 battery (100 Ah ~$800–1,000). They weigh half as much, last 3,000+ cycles, and can be discharged to 100% without damage.
Critical compatibility check: Your trailer’s converter may be set for lead-acid charging profiles. Lithium batteries need a different charging voltage (14.4–14.6V vs. ~14.7V for lead-acid). If the converter lacks a lithium mode, you’ll either undercharge the battery or risk overvoltage. How to verify: Look at the converter’s label or manual for a switch or jumper labeled “lead-acid/lithium” or “flooded/AGM/LiFePO4.” If there’s no adjustment, you’ll need a dedicated lithium charger or a converter with selectable profiles.
A realistic consequence of ignoring this: If your converter is set to lead-acid absorption voltage (~14.7V) and you connect a lithium battery without a BMS that can handle overvoltage, the battery’s internal BMS will disconnect to protect itself. The result: your converter will keep running at high voltage, the battery will stop charging, and you’ll see intermittent power loss to your 12V loads—or worse, a damaged BMS.
Solar on a camping trailer
- Most roofs have limited space. A 100W panel is typical; 200W is better. But the roof must be clear of vents, AC, and antennas.
- Use a simple PWM controller for small systems (100–200W). For 300W+, go MPPT for efficiency.
- A common mistake: skipping a battery monitor. Install a shunt-based monitor ($30–50) to track state of charge. Otherwise you’ll guess and kill your battery.
Final Fit Check: Which Camping Trailer Suits Your Tow Vehicle
Before you browse listings, run these numbers:
1. GVWR of the trailer – Not dry weight, not “hitch weight.” Use the Gross Vehicle Weight Rating (printed on the sticker near the door). That’s the maximum loaded weight.
2. Tongue weight = 10–15% of GVWR (use 15% for a conservative figure).
3. Tow vehicle payload – Subtract: (tongue weight) + (weight of all passengers and cargo in the vehicle). The result must be positive.
4. GCWR – The combined weight of fully loaded truck and fully loaded trailer. Must be under the manufacturer’s limit.
Once you have those numbers, narrow your search to trailers whose GVWR fits within your payload and GCWR constraints. Ignore any dealer who tells you “your truck can pull it” without asking for your payload rating. The right trailer is the one your vehicle can safely stop, steer, and carry—not just pull away from the lot.
Practical RV guides from an experienced owner. Motorhomes, travel trailers, truck campers — we have owned them, maintained them, and written the guides we wish we had found when we started.