Trailer Brake Controller: What to Look For & Top Picks
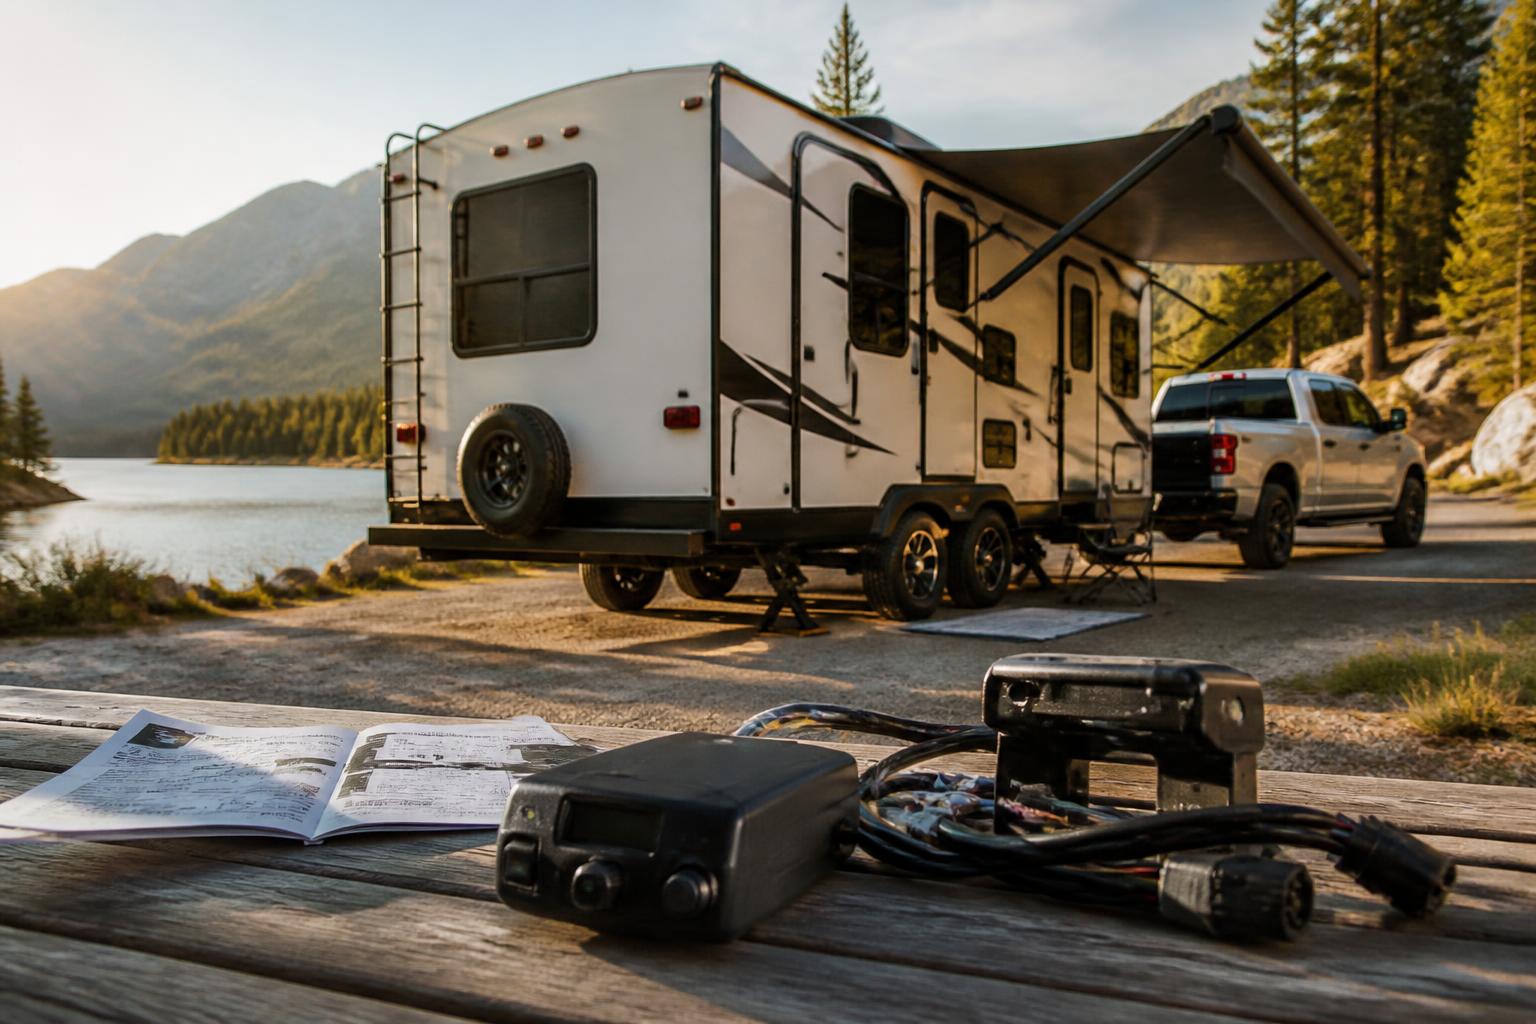
A trailer brake controller is the device in your tow vehicle that tells your trailer’s electric brakes when and how hard to apply. Without one, your truck or SUV’s own brakes have to stop the combined weight of vehicle plus trailer — a recipe for overheating, longer stopping distances, and loss of control. Federal law requires a brake controller on any trailer with a GVWR over 3,000 lbs, and most RVs (travel trailers, fifth wheels, toy haulers) exceed that by a lot. Here’s what you actually need to know to pick, install, and dial in the right controller for your setup.
How a Trailer Brake Controller Works
Two main technologies are used in today’s controllers, and the difference matters for how your rig stops.
Proportional (inertia-based) controllers use an internal accelerometer to sense how hard your tow vehicle is decelerating. They send a proportional amount of power to the trailer brakes, so a gentle stop gives gentle trailer braking and a panic stop gives maximum power. Because they react in real time, they produce the smoothest, safest combination of vehicle and trailer braking.
Time-delayed controllers send power to the trailer brakes at a fixed rate (e.g., a set voltage ramp over one to two seconds) regardless of how hard you brake. They’re simpler and cheaper, but they can cause jerky stops or poor modulation on slippery roads. They’re still acceptable for light trailers on flat ground, but most RV owners should go proportional.
Example: A REDARC Tow-Pro Link Electric Trailer Brake Controller uses a 6-axis sensor with active calibration — it adjusts for hills, load shifts, and even trailer sway, delivering smooth stopping even when your rig’s weight changes. A time-delayed unit like the Lrichy 8507111 is a valid budget option for single-axle utility trailers, but not ideal for a 30-foot travel trailer.
Choosing the Right Brake Controller for Your RV
Not every controller fits every tow vehicle or trailer. Here are the real-world factors that narrow your options.
| Factor | What to check | Why it matters |
|---|---|---|
| <strong>Brake type</strong> | Electric vs. electric-over-hydraulic | Most RVs use electric brakes. Electric-over-hydraulic (used on some heavier fifth wheels) requires a controller with a hydraulic brake output. |
| <strong>Axle count</strong> | 1, 2, 3, or 4 axles | More axles = more brake magnets = higher amp draw. A controller rated for 1–3 axles (e.g., 15A max) may struggle on a triple-axle toy hauler. |
| <strong>Vehicle wiring</strong> | Factory 7-pin connector, aftermarket harness, or none | Many new trucks have a pre-installed brake controller harness under the dash. |
If not, you’ll need a vehicle-specific T-harness (e.g., Curt, Hopkins, or Redarc). |
| Braking mode | Proportional vs. time-delayed | Proportional is recommended for any RV over 3,500 lbs GVWR. Time-delayed is acceptable for small trailers under 2,500 lbs. |
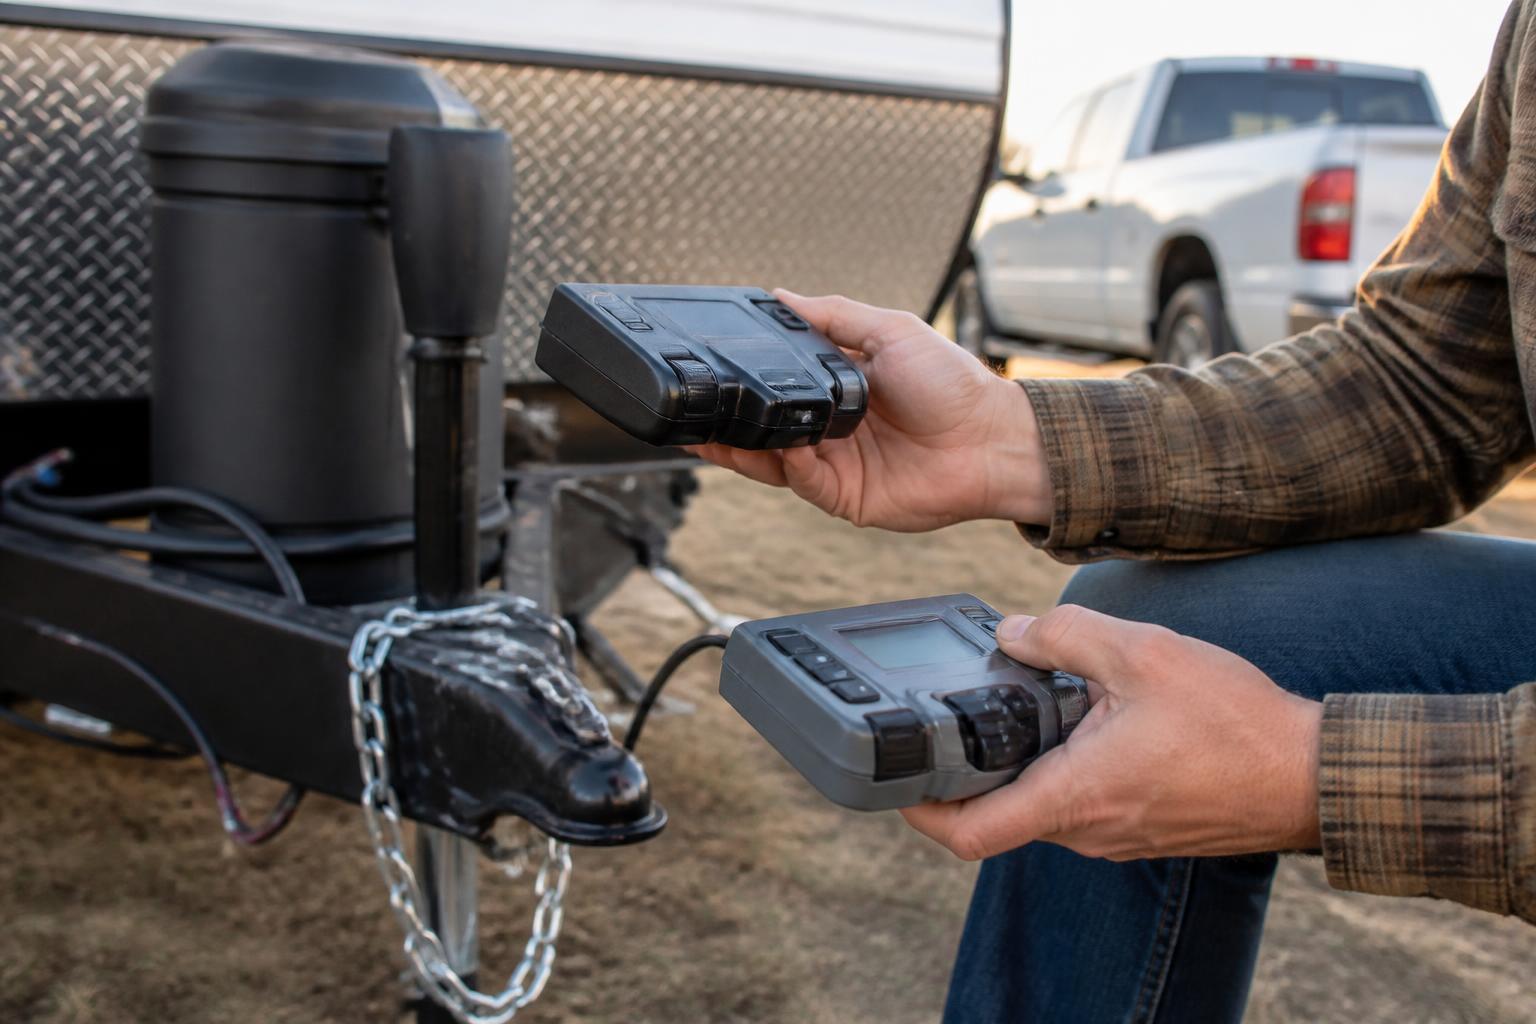
| Mounting location | Under-dash, dash-top, or handheld | Under-dash units are out of the way; dash-mount units are easier to adjust. Handheld controllers are portable but require a separate plug-in cable. |
Expert tip #1: Don’t guess your trailer’s brake magnet amperage. Check the label on each brake drum or axle. Multiply the per-magnet rating (usually 3A–5A) by the number of brakes. If the total exceeds your controller’s max output, you’ll get weak braking or overheating. Upgrade to a controller rated for that total amperage — for example, a proportional unit that handles 30A is necessary for a triple-axle 10,000 lb trailer.
Setting Up and Adjusting the Gain
Getting the gain wrong is the #1 cause of poor trailer braking — either the trailer brakes lag (too low) or they lock up and skid (too high). Here’s a repeatable procedure.
What you’ll need before starting
- The trailer loaded to its typical travel weight (tanks at least one-third full, cargo inside)
- A flat, straight, traffic-free stretch of road
- Your brake controller installation manual (for specific menu navigation)
Step-by-step gain calibration
1. Set the controller to its midpoint (e.g., 5.0 on a 1–10 scale, or 50% on an LED display).
2. Drive at 25 mph on a paved, flat surface — no hills, no turns.
3. Apply the tow vehicle brakes firmly (not a panic stop, but a moderate push). Watch the trailer brake indicator or feel for the trailer’s contribution. The ideal reaction: a slight tug from the trailer, not a lurch, not a delay.
4. Adjust gain in 0.5 increments (or one step on a digital unit). Repeat the stop test until the trailer feels like it’s helping without pulling sideways or locking up.
5. Test on a downhill section (2–4% grade at 30 mph). If the trailer pushes you, increase gain by one step. If you hear squealing or feel the trailer drag, decrease gain.
6. Test a panic stop from 30 mph (only on a clear, empty road). The trailer should stop straight without the trailer pulling the tow vehicle to one side. If it does, your gain is too high — back off one step.
Likely causes of poor braking (and fast fixes)
- Trailer brakes feel weak even with max gain. Check the brake magnet gap (should be 0.030–0.040 inches). Also verify the trailer’s breakaway switch battery is fresh — a dead battery can short the entire brake circuit.
- Trailer brakes lock up on dry pavement. Gain too high. Reduce by two steps and re-test. If it still locks, check that all brake magnets are the same amperage; mismatched magnets cause uneven pull.
- Intermittent or no brake response. Loose 7-pin connector, corroded pins, or a broken wire at the trailer axle. Inspect and clean the connector; test continuity from controller to trailer plug with a multimeter.
When to stop and call a professional
If you’ve adjusted gain through the full range and still can’t get smooth braking — especially if the trailer pulls one direction under braking — you likely have a mechanical brake problem (out-of-round drums, glazed magnets, or incompatible brake assemblies). Stop driving and have a certified RV brake shop inspect the system. Do not attempt further DIY adjustments that could lead to brake failure on the road.
Expert tip #2: After gain calibration, open the trailer’s brake adjustment access hole and check that all four brake shoes self-adjust properly. Many garage-installed brakes never get the initial shoe adjustment, which makes the gain setting unreliable until the shoes bed in.
Early Detection of a Common Failure Mode: Voltage Drop from Corroded Grounds
One failure mode that catches many RV owners off guard is a voltage drop caused by a corroded ground connection — either at the trailer’s frame ground point or inside the 7-pin connector. The symptoms are subtle at first: the trailer brakes feel spongy or inconsistent, especially after driving through rain or mud. You might notice the brake controller’s output display shows a lower voltage than expected (e.g., 8V instead of 12V) when the brakes are applied.
How to detect it early: Once a month, before a trip, do a static brake test. With the trailer connected and the tow vehicle running, manually activate the brake controller override lever (or press the manual test button on the controller). Each trailer wheel should lock and resist rotation when you try to turn it by hand. If any wheel spins freely, you have a poor connection at that brake assembly or along the ground path. Use a multimeter to check voltage at the trailer plug (pin 2 for brakes, pin 1 for ground) — a reading below 11.5V under load indicates excessive resistance.
Practical fix: Remove the 7-pin connector, clean the contacts with a wire brush or electrical contact cleaner, and apply dielectric grease. Also clean the trailer frame ground where the white wire attaches — grind away rust until you see bare metal. Re-test. This single step resolves about 40% of brake performance complaints I’ve seen on forums.
Expert tip #3: Install a dedicated ground wire from the trailer tongue’s breakaway switch battery directly to the frame ground, bypassing the connector’s ground pin. This ensures clean power to the brakes even if the main ground path develops resistance.
Weight Distribution and Brake Controller Interaction
A weight distribution hitch (WDH) affects how your trailer’s tongue weight is transferred to the tow vehicle, which in turn changes the weight on the rear axle — and the brake controller’s inertia sensor can misinterpret that shift if the controller isn’t mounted correctly.
If your proportional controller is mounted at an angle (e.g., on a sloping dash), the internal accelerometer may not sense deceleration accurately. Mount the controller so it’s level within 5 degrees of horizontal when the tow vehicle is parked on level ground. For under-dash mounts, use a bubble level and shim the bracket if needed.
Also, when you adjust a WDH with spring bars, make sure the controller mounting stays level — some WDH setups lift the rear of the truck enough to tilt the controller. Re-check and re-zero the controller calibration if you change the hitch setup.
Brake Controller and Payload Math
Your tow vehicle’s payload sticker (on the driver’s door jamb) lists the maximum combined weight of passengers, cargo, and tongue weight. The brake controller itself weighs about 1–2 lbs — negligible. But the trailer’s tongue weight (typically 10–15% of GVWR) is a real payload consumer. For example, a 7,000 lb travel trailer with a 12% tongue weight adds 840 lbs to your truck bed. If your payload rating is 1,500 lbs, that leaves only 660 lbs for passengers, gear, and a hitch. Overloading the payload reduces the effectiveness of the brake controller because the rear axle can’t maintain proper traction and weight transfer.
Before buying a brake controller, confirm that your truck can actually handle the trailer’s tongue weight after loading the cab and bed. Many new truck owners are surprised that a half-ton truck’s payload is often the limiting factor, not the tow rating.
Final Check Before Every Trip
Before you pull out of the driveway, run these four checks in under five minutes:
1. Manual brake test – With the engine running and trailer connected, press the controller’s manual override. The trailer brakes should engage audibly (you’ll hear a hum from each brake magnet) and the trailer should not roll when you try to push it.
2. Breakaway switch test – Pull the breakaway lanyard. The trailer brakes should lock immediately. Re-insert the pin before driving.
3. Connector pin check – Look at the 7-pin plug for bent or corroded pins. Use a tester if you have one.
4. Gain recall – Make sure your gain setting matches what you calibrated. Digital controllers often reset to defaults if the battery was disconnected.
This article covers the core decisions and adjustments that make the difference between a safe tow and a white-knuckle ride. A properly selected and calibrated brake controller, combined with routine ground-path maintenance, will give you confident stopping every time you hit the road.
Practical RV guides from an experienced owner. Motorhomes, travel trailers, truck campers — we have owned them, maintained them, and written the guides we wish we had found when we started.