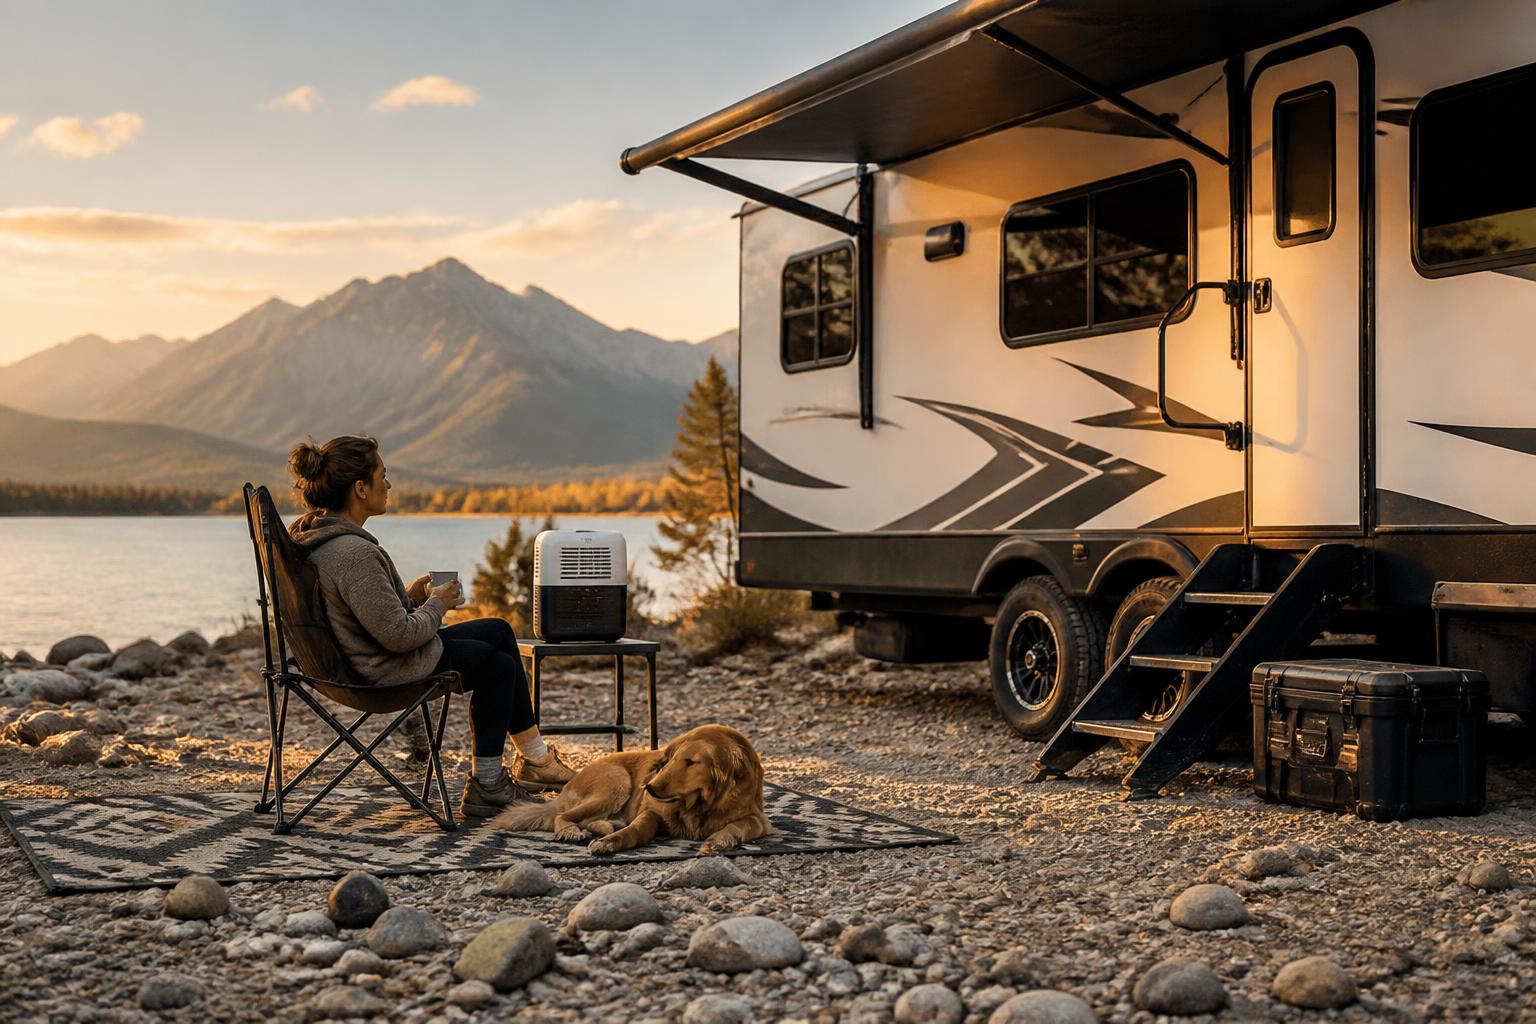
RV Dehumidifier Explained: What You Need to Know
An RV dehumidifier pulls excess moisture out of your camper to stop mold, mildew, and corrosion. The choice between a compressor and a desiccant model comes down to one main decision: whether you have reliable 120V shore power or need to run on battery. If you boondock or camp in cold weather, pick a low-power desiccant unit. If you always have shore power and need high capacity in warm climates, a compressor dehumidifier is more effective.

Quick Answer
You need an RV dehumidifier when interior humidity stays above 60% — condensation on windows, musty smells, or visible mold are warning signs. Two types dominate:
- Compressor dehumidifier – 30–50+ pints/day, draws 300–700W, works best above 65°F. Good for large RVs with constant shore power.
- Desiccant dehumidifier – 10–20 pints/day, draws 30–60W, works down to freezing. Ideal for boondocking, battery operation, or cold-weather storage.
Decision criterion that changes the recommendation: If you ever rely on batteries (even with solar), choose desiccant. A compressor’s startup surge can exceed 1000W, which overloads most inverters and drains batteries fast. Desiccant units pull less than 1 amp on 120V or 4–5 amps on 12V, letting you run them for hours on a standard 100Ah battery.

Practical implication for your next purchase: If you already own a compressor model and find it shuts off or trips your inverter, stop using it on battery immediately. Switch to a desiccant unit rated for 12V operation, or run the compressor only when connected to 30A or 50A shore power. For a new buyer, buy a desiccant unit first if you plan to dry camp even occasionally — the extra upfront cost ($30–$60) pays for itself in avoided battery damage.
What It Means – Why Humidity Matters in an RV
An RV is a tight metal box with poor ventilation. Cooking, showering, breathing, and even damp gear add moisture. Without active removal, humidity settles above 60–70% in hours, leading to:
- Condensation on windows and metal window frames that drips into wood trim, causing delamination within a few months.
- Musty odors from upholstery and carpet that require ozone treatment to fully remove.
- Mold growth inside cabinets, behind wall panels, and on mattress edges — often unseen until it’s too late.
- Corrosion on electrical terminals, slide-out motor connectors, and appliance circuit boards, causing intermittent failures.
A dehumidifier is the most direct fix. Unlike an air conditioner (which removes some moisture but is designed for cooling), a dedicated dehumidifier removes water vapor efficiently and runs quietly when you’re not on AC. In a 30-foot Class C with two people sleeping, a 30-pint compressor unit can pull a full bucket of water out of the air every 12 hours.
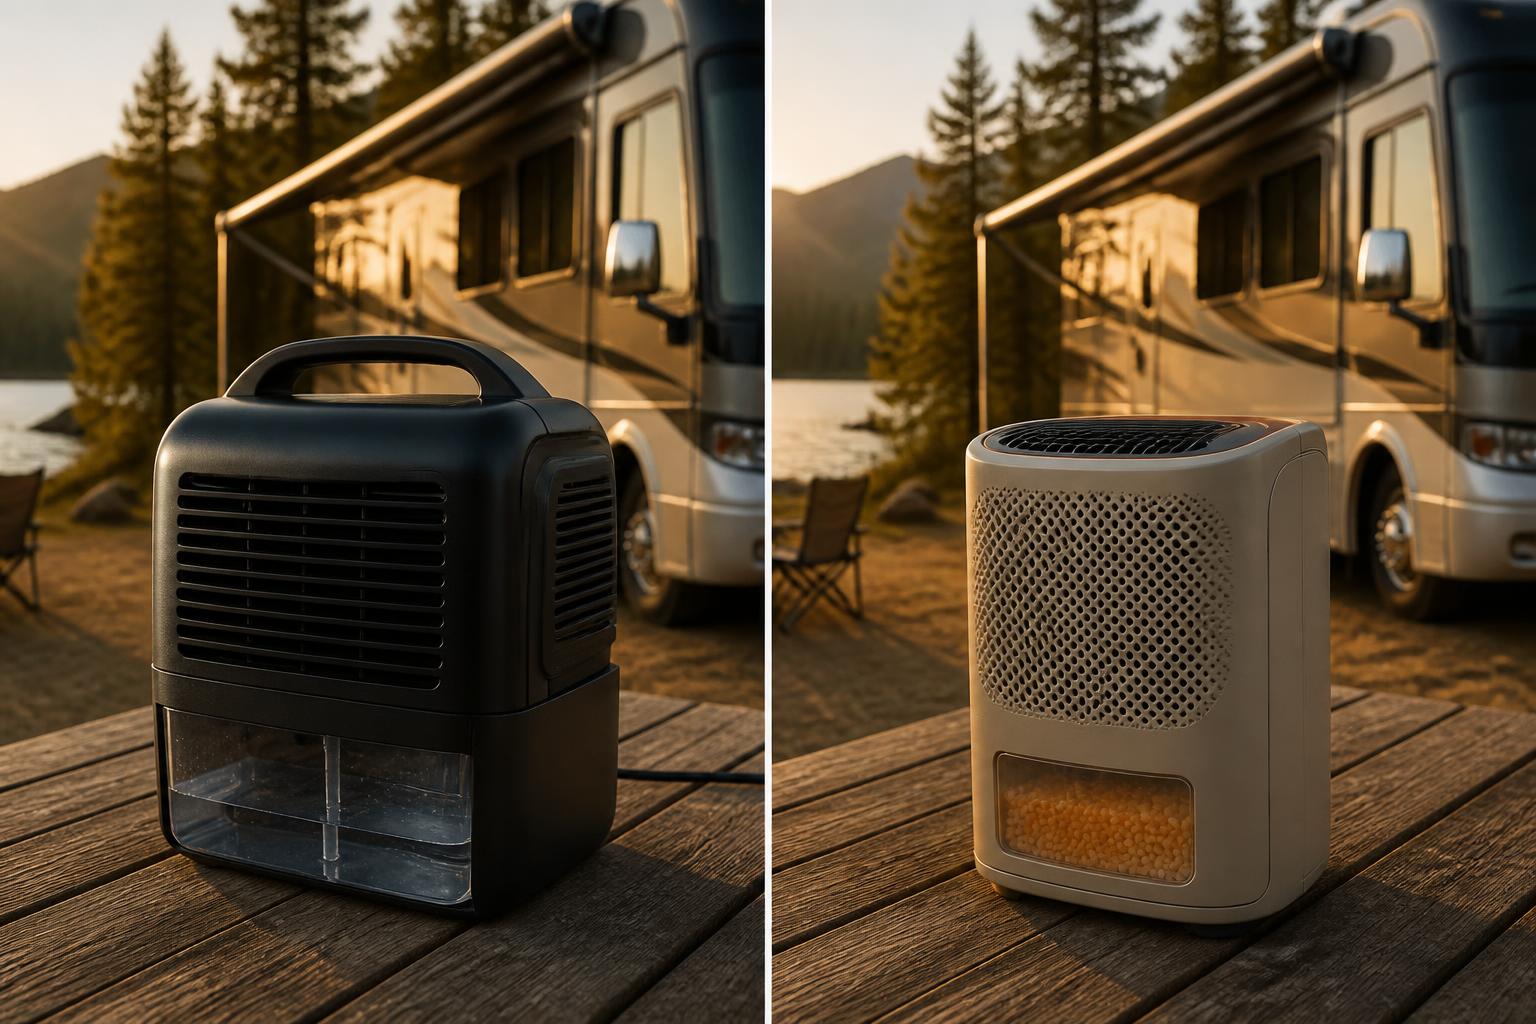
How It Works – Compressor vs. Desiccant
Compressor (refrigerant): A fan pulls air across cold coils. Moisture condenses into a bucket or drain line; the air is reheated slightly and returned. Efficient in warm humid air, but coil icing happens below 50°F. Most units have a defrost cycle, but capacity still drops by 50% or more at 40°F.
Desiccant (rotor): Air passes through a honeycomb wheel coated with silica gel. The wheel slowly rotates; a small heater dries the section that just absorbed moisture, venting the water vapor outside (or into a drain). No icing, works in sub-freezing temps. The trade-off: lower daily extraction and the heater adds a little warmth to the room — about 2–4°F rise in a typical RV.
Performance comparison at common conditions:
| Condition | Compressor (30 pint) | Desiccant (12 pint) |
|---|---|---|
| 80°F / 60% RH | ~30 pints/day | ~12 pints/day |
| 50°F / 60% RH | ~18 pints/day (icing risk) | ~11 pints/day |
| 35°F / 60% RH | Not usable (ice) | ~10 pints/day |
One realistic limitation: Both types raise the interior temperature slightly. Compressor units return air that is about 5°F warmer than intake; desiccant units add 2–4°F due to the heating element. In hot weather this makes the AC work harder. If you’re running the dehumidifier alongside your roof air conditioner in a 90°F day, the combined heat load may cause the AC to struggle to keep the RV below 75°F.
Choosing the Right Dehumidifier for Your RV
Your power source and climate dictate the type. Use this table as a starting point:
| Scenario | Recommended Type | Why |
|---|---|---|
| Always on 30/50A shore power, warm climate | Compressor, 30–50 pint | High capacity, efficient, can use continuous drain |
| Boondocking or cold-weather camping | Desiccant, 10–20 pint (120V or 12V) | Low power, works below 50°F, safe on battery |
| Small travel trailer, occasional use | Small desiccant (10–15 pint) | Compact, no bucket worries if plumbed to sink |
| Winter storage (unheated RV) | Desiccant or passive DampRid | No risk of freezing; desiccant needs 120V or battery |
Other factors:
- Size match: Rough guideline – 10 pints per 100 sq ft of floor space. A 30‑pint unit covers a 300 sq ft Class A well; a 20‑pint works for a 200 sq ft travel trailer.
- Drain: All units have a bucket. Most offer a hose connection for continuous drain – critical if you don’t want to empty every day.
- Humidistat: Set a target (e.g., 45%) and the unit cycles on/off automatically. Saves power.
Applicability Boundary – When This Advice Changes
The recommendations above assume you are dealing with normal living moisture (2–4 people cooking and showering daily). If you have a diagnosed mold problem or a known water leak, no dehumidifier will fix the root cause. A dehumidifier can only remove airborne moisture, not standing water or soaked insulation. If you see water stains on walls or ceilings, fix the leak first — running a dehumidifier on top of a leak just wastes power and may push water deeper into framing.
Verification Step – How to Confirm Fit on Your Actual RV
Before buying, verify that the unit’s physical footprint fits in your planned location. Measure the space: compressor units are typically 10–12 inches wide, 15–18 inches deep, and 18–22 inches tall. Desiccant units are smaller (8–10 inches wide). Place a cardboard box of the same dimensions in the spot and leave it for 24 hours to confirm clearance for door openings, cabinet clearance, and airflow from all sides. If the box touches a curtain or seat cushion, find a different location.
Practical Tips for Using Your RV Dehumidifier
Tip 1: Plumb the Continuous Drain First
Most dehumidifiers include a threaded hose fitting for gravity drain. Run a 3/8-inch vinyl hose to your gray tank sink drain or a dedicated low-point drain. Actionable step: Before your first trip, test the continuous drain by pouring a cup of water into the bucket hose port — if it backs up or leaks at the connection, fix it now. Common mistake: Using the bucket alone and forgetting to empty it overnight. A full bucket triggers auto-shutoff, but by then humidity has already spiked and mold can start growing in just a few hours.
Tip 2: Position the Unit for Airflow, Not Convenience
Place the dehumidifier in the center of the living area or near the return air grille of your furnace or AC. Actionable step: Keep at least 6 inches of clearance behind and on both sides. Common mistake: Wedging the unit under a dinette seat or inside a cabinet with the door open. Restricted airflow cuts performance by 40–60% and can cause compressor units to overheat and trip thermal protection.
Tip 3: Match Run Time to Your Battery Budget
If you boondock with a desiccant unit on 12V, know your amp-hour consumption. A 12V desiccant pulls about 5 amps. Actionable step: Run the unit for 2 hours in the morning and 2 hours in the evening rather than continuously — this maintains 50% humidity on a 100Ah battery while leaving 60Ah for lights, fridge, and water pump. Common mistake: Running a compressor unit on battery with a small inverter. The inverter’s inefficiency and the compressor’s surge can drain a 100Ah battery in under 2 hours, leaving you with no power for essentials.
How to Set Up and Operate Your Dehumidifier – Step by Step
Preparation: Read the manual for your specific model. Locate the drain outlet. Confirm your chosen power source (120V shore, 12V battery, or inverter) can handle the unit’s continuous draw plus any other loads on that circuit.
Early checkpoint – power test: Plug the unit in and turn it on. Let it run for 5 minutes. If the circuit breaker trips or the inverter alarms, move the unit to a different circuit or upgrade to a desiccant model. Do not proceed until this test passes.
Ordered steps:
1. Level the unit. Most models have adjustable feet; a tilted unit can trigger the bucket-full sensor prematurely.
2. Set the humidistat to 45% (a comfortable range that prevents mold without over-drying).
3. If using continuous drain, attach the hose and route it to a drain. Run a few feet of hose with a gentle downward slope — no dips where water can puddle.
4. Place the unit in its final location, leaving the 6-inch clearance on all sides.
5. Turn on and let it run for 24 hours. Check the bucket (if not using continuous drain) after 6 hours to get a feel for how fast water accumulates.
Friction points you may hit:
- Bucket full sensor fails: If the unit shuts off but the bucket is empty, a tiny piece of debris may be blocking the float. Clean the float mechanism with a soft brush.
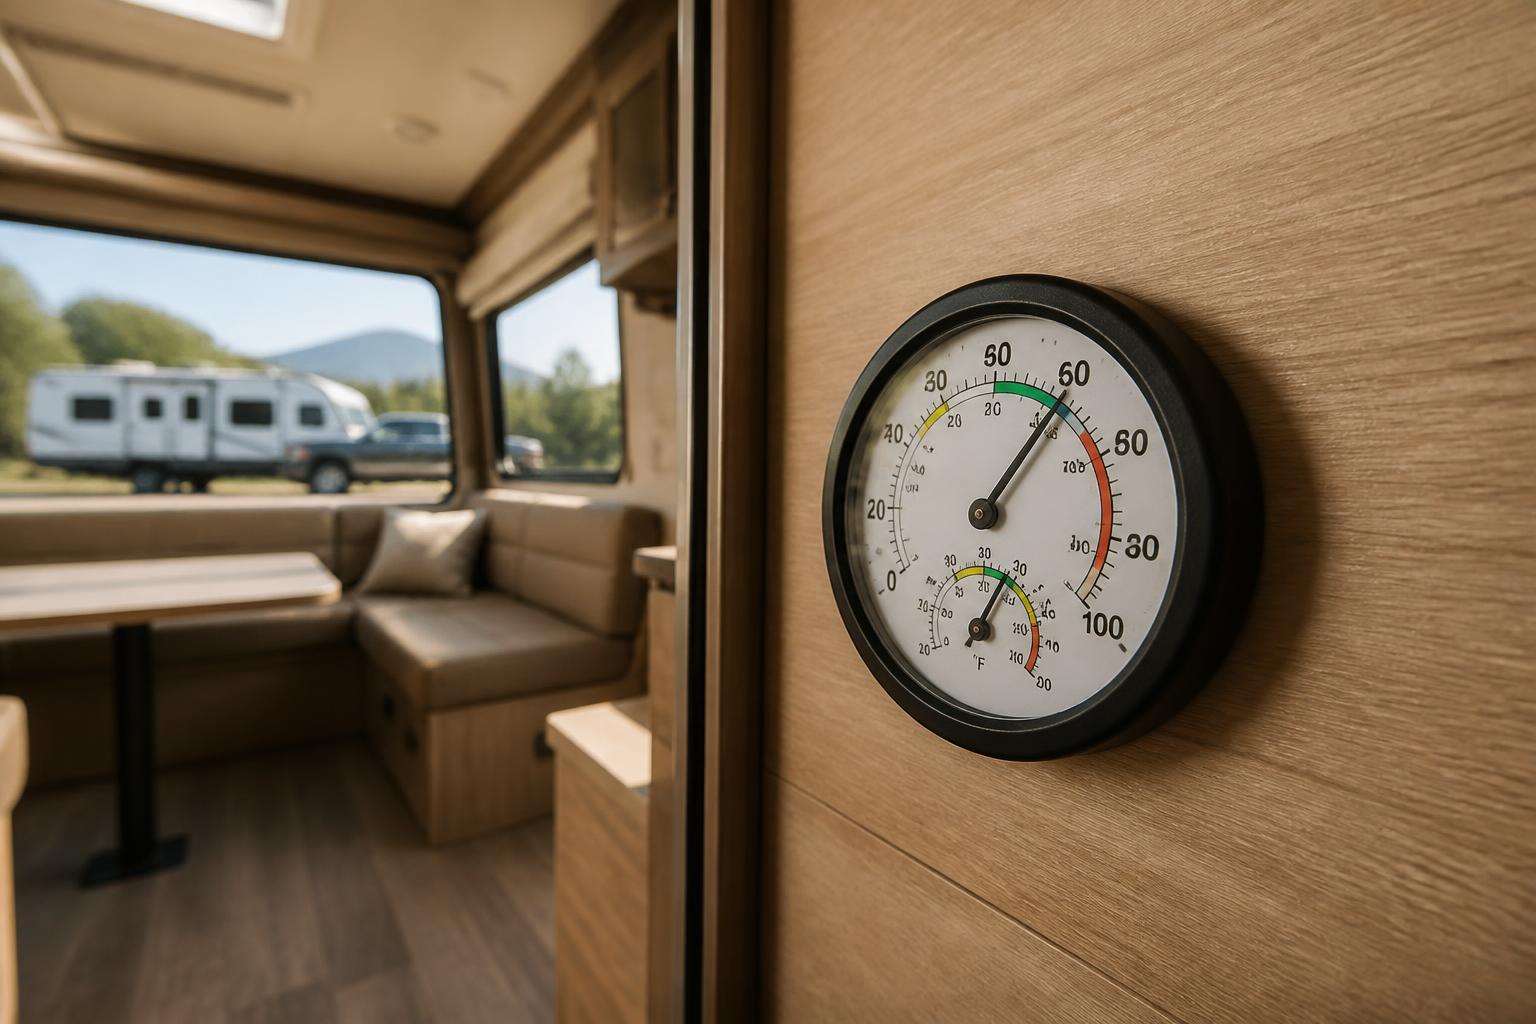
- High humidity but unit runs constantly: Your RV may have a fresh air leak (open vent fan, window not sealed) or you may need a larger unit. Measure actual humidity with a separate hygrometer to confirm the built-in sensor is accurate.
- Warm air output in summer: Expected with both types. If the cabin temperature rises above 80°F, run the dehumidifier only during the coolest part of the day or use it in conjunction with a window fan to exhaust hot air.
Escalation signal – when to stop and call support: If the unit draws more than 20% above its rated wattage (check with a Kill-A-Watt meter), if it makes grinding or banging noises, or if water leaks from the case, unplug immediately and contact the manufacturer. These signs indicate a refrigerant leak, a failed compressor, or a cracked drain pan.
Success check: After 24 hours, your hygrometer reads between 40% and 50% relative humidity. The unit cycles on and off roughly once per hour under normal living load. The drain hose discharges water at a steady trickle (about 1–2 cups per hour in a 30-foot RV with two people). No condensation on windows in the morning.
Related Questions
Can I use a household dehumidifier in my RV?
Yes, as long as it fits and you have sufficient shore power. Household compressor units are identical to RV-rated ones in function. The main risk is physical size — a 50-pint home unit may be too tall for a slide-out cabinet — and power draw that can exceed a 15-amp RV circuit if other appliances are running. Verify the unit’s amp rating stays below 80% of the circuit breaker rating.
How often should I empty the bucket?
That depends on humidity, unit capacity, and occupancy. In a humid climate (80°F, 70% RH) with two people in a 30-foot RV, a 30-pint compressor unit fills its bucket about every 6–8 hours. Plan to check it morning and evening. If you cannot commit to that schedule, use the continuous drain option to avoid overflow.
Practical RV guides from an experienced owner. Motorhomes, travel trailers, truck campers — we have owned them, maintained them, and written the guides we wish we had found when we started.