Heated Garden Hose RV Buying Guide: Features to Consider
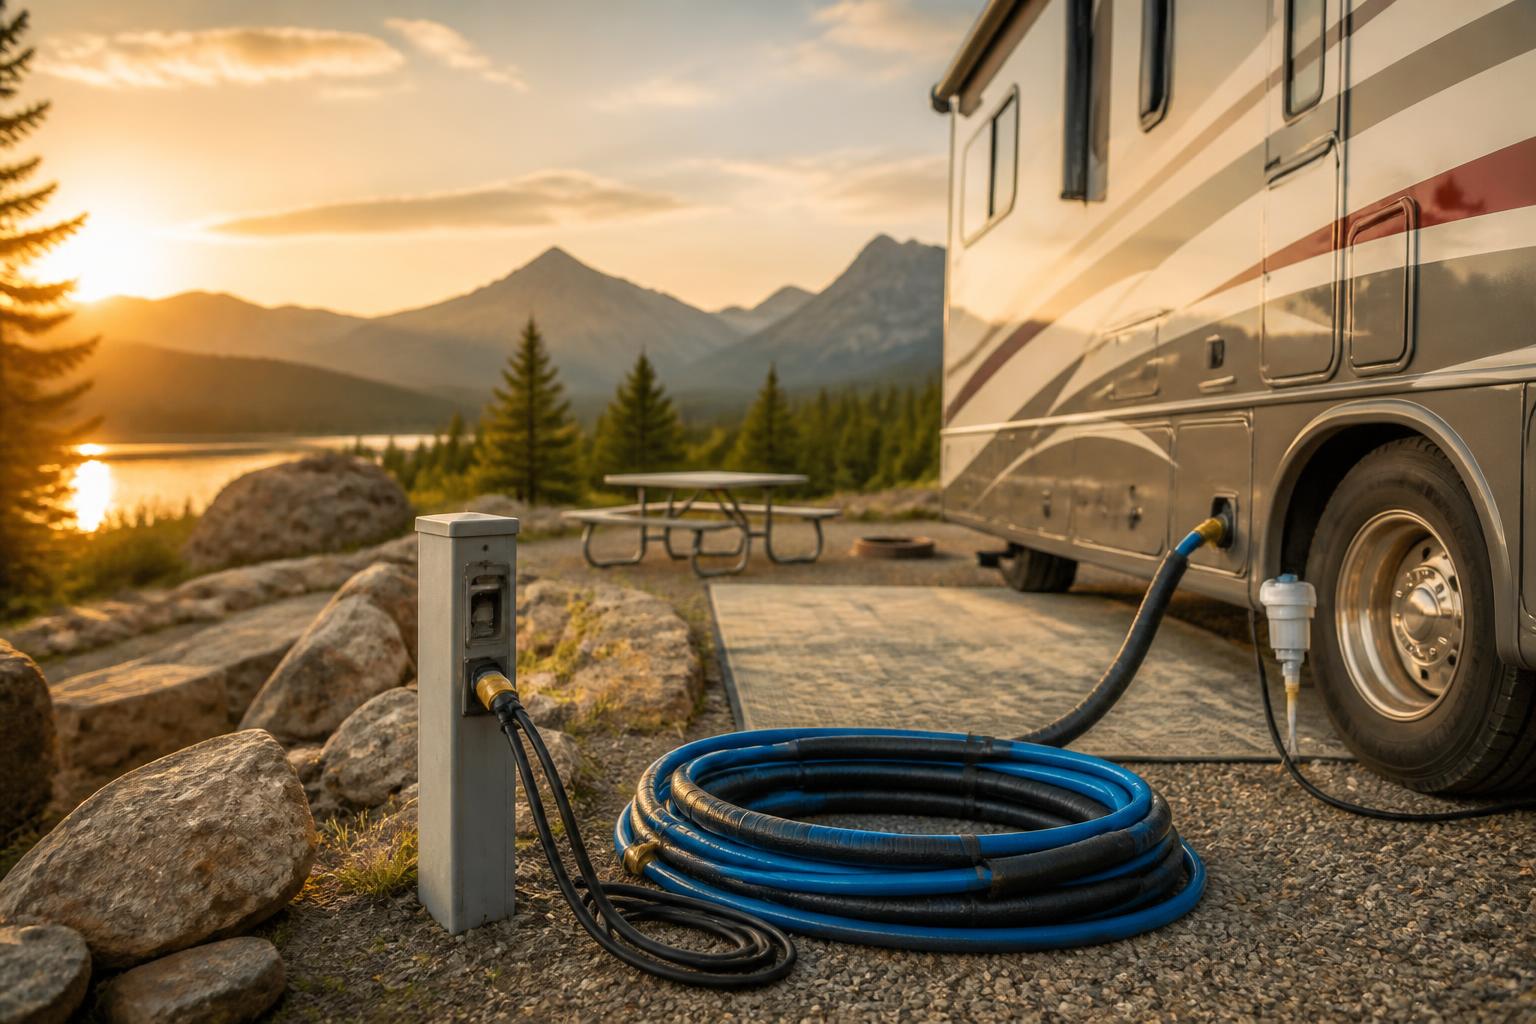
If you’re looking for a heated garden hose for your RV, the short answer is: you probably don’t want a “heated hose” at all. Most consumer heated hoses are thin rubber tubes with built-in heating elements that fail after one or two seasons. The smarter, more durable solution is heat tape applied to a standard drinking-water-safe RV hose. This guide explains why, compares the Cupohus heat tape options that consistently outperform cheap heated hoses, and helps you pick the right setup without wasting money.

The Counter-Intuitive Truth: Heat Tape Beats a “Heated Hose”
Every year, RV owners buy a cheap heated hose from a big-box store, hook it up in subfreezing weather, and then watch it crack or short out two months later. The problem: most heated hoses use a non-replaceable heating element that can’t handle the constant flexing, UV exposure, and road salt that RV hoses endure. Once the internal wire breaks, the whole hose is trash.
Heat tape solves this. You buy a standard RV water hose (reinforced, potable, kink-resistant) and wrap it with a self-regulating heat tape. If the tape fails, you replace only the tape—the hose itself survives. This is the counter-intuitive angle that most generic articles skip: the best “heated garden hose for RV” doesn’t come as a single pre-assembled product. It comes as a hose-plus-tape system that costs about the same but lasts three times longer.
Applicability boundary: This heat-tape approach works best for RVers who stay parked for extended periods in freezing weather (full-timers, winter snowbirds) or anyone who wants a one-time setup. If you only camp occasionally in mild cold (above 20°F) and don’t mind replacing a cheap hose every season, a pre-assembled heated hose may be simpler. But for sustained subfreezing use, heat tape is the clear winner.


Practical implication for your next decision: If you’re deciding between a heated hose and heat tape, here’s the bottom line: if you expect to replace your hose every season or two, buy a pre-assembled heated hose and move on. If you want a system that lasts 3+ winters with minimal fuss, invest 15 minutes in wrapping heat tape—you’ll replace only the tape every 2–3 seasons, not the entire hose.
Comparison: Cupohus Heat Tape Options
| Product | Length | Key Feature | Best For |
|---|---|---|---|
| Cupohus Heat Tape 6FT | 6 ft | Built-in thermostat; basic freeze protection | Short runs (e.g., spigot directly next to RV inlet) |


| Cupohus Heat Tape 25FT | 25 ft | Digital display thermostat; moderate coverage | Medium-length hose runs (typical 25-ft RV connection) |
| Cupohus Softer Heat Tape 30FT | 30 ft | Softer jacket for easier wrapping; digital thermostat | Long runs or multiple wraps around a hose |
Top Pick: Cupohus Heat Tape 6FT – If you only need to protect a short connection (e.g., from the spigot to the RV inlet right next to it), the 6-foot tape is cheap and does the job. For most RVers, the 25-foot digital display version is the sweet spot because it covers a standard 25-foot hose run and lets you see the actual temperature at the connection point. The 30-foot softer tape is useful if you have a longer hose or want to wrap the hose with a slight spiral for better coverage—but you don’t need it for a straight 25-foot run.
Quick Decision Checklist
Use these five checks before buying anything:
- Self-regulating? Yes / No . Self-regulating tapes cannot overheat or melt the hose even if overlapped. Non-self-regulating tapes (cheap thermostat-only) require careful wrapping and can create hot spots.
- Drinking-water-safe hose? Yes / No . The tape goes on the outside of the hose, but the hose itself must be rated for potable water at freezing temps. Standard garden hoses crack. Use a reinforced RV drinking-water hose (e.g., Camco, Valterra) rated to -20°F.
- GFCI outlet available? Yes / No . Heat tape must plug into a GFCI-protected outlet (or a portable GFCI adapter) to prevent shock in wet conditions. If your spigot is far from an outlet, you’ll need an extension cord that’s also rated for outdoor use.
- Tape length matches hose length? Yes / No . Measure the actual hose run including slack. The tape must cover the entire exposed hose. A 25-ft tape on a 25-ft hose leaves no extra for bends—consider the 30-ft softer tape if you have any curves.
- Can the plug stay dry? Yes / No . The tape’s plug connection must be kept out of standing water and snow. Wrap the connection with weatherproof electrical tape or use a cord protector if needed.
If you answered “No” to any of these, adjust your plan before buying. A self-regulating tape on a properly rated RV hose is a proven, low-maintenance setup—but only if these conditions are met.
How to Set Up the Heat Tape System (Operator Flow)
Before you start: Confirm your hose is a reinforced RV drinking-water hose, not a cheap garden hose. Check that the tape length is at least as long as the hose run. Ensure you have a GFCI outlet within reach.
Step 1 – Uncoil and straighten the hose. Coiled hoses trap heat and can damage the tape. Lay the hose flat on the ground in the same path you’ll use when connected.
Step 2 – Wrap the tape along the hose. Start at the spigot end (where the water comes out) and run the tape straight along the side of the hose. Do not overlap the tape more than 50% of its width—self-regulating tape handles overlap, but heavy overlap wastes heat. Use electrical tape or zip ties every 12–18 inches to secure the tape to the hose.
Step 3 – Connect and test. Plug the tape into the GFCI outlet. If your tape has a digital display, check that the readout shows a temperature above ambient (it should feel warm to the touch after 5–10 minutes). If no display, simply feel the tape along its length—it should be uniformly warm.
Checkpoint: Does the tape feel warm along the entire length? If cold spots exist, the tape may be damaged or not making good contact. Unplug and re-check the wrap. If a section is cold near the plug, the tape may have a defect—replace it.
Step 4 – Connect the hose and run water. Once the tape is warm, attach the hose to the spigot and RV inlet as usual. Make sure the plug connection stays elevated off the ground.
Likely friction point: If you have to run the hose around a corner or over a gravel pad, the tape can get pinched. Use a foam pipe insulation sleeve over the tape in those spots to protect it from abrasion.
Success signal: After 30 minutes in freezing temperatures, the hose should remain flexible and water should flow without freezing. If you see ice forming at the spigot or RV inlet, the tape may not cover those brass fittings—wrap a small piece of foam insulation around the fittings as well.
Escalation signal: If the tape trips the GFCI repeatedly, unplug immediately. The tape may have a ground fault or water intrusion. Let it dry completely, then test again. If it still trips, replace the tape—do not use a non-GFCI circuit. That’s a safety hazard.
Trade-offs: Heat Tape vs. Pre-Assembled Heated Hose
| Factor | Heat Tape System | Pre-Assembled Heated Hose |
|---|---|---|
| Durability | Replace tape; hose lasts years | Entire unit fails if element breaks |
| Cost per season | ~$15–$25 for tape (replaced every 2–3 seasons) | $30–$60 (replace every season or two) |
| Ease of setup | Requires wrapping tape (10–15 minutes) | Plug and play |
| Compatibility | Works with any potable RV hose | Only works with that specific hose |
| Temperature control | Thermostat or digital display; precise | Usually built-in thermostat, no readout |
| Cold-weather handling | Self-regulating; no risk of overheating | Can overheat in warmer weather if forgotten |
The biggest trade-off: Setup time. If you’re the type who wants to pull a single hose out of the storage compartment and plug it in, a pre-assembled heated hose is faster. But you’ll replace it sooner. If you prefer a one-time system that works for years, invest 15 minutes in wrapping heat tape. For full-time winter RV living, the tape system wins every time.
Realistic mismatch to watch for: Heat tape cannot be used on hoses that are not drinking-water-safe. Some rubber garden hoses off-gas when heated, and the tape itself can accelerate cracking on cheap vinyl hoses. Also, if your spigot is far from a GFCI outlet (e.g., 50+ feet), running an extension cord that’s long enough and rated for 15 amps adds complexity and tripping hazard. In that scenario, a pre-assembled heated hose that plugs directly into the RV’s exterior outlet might be the safer choice—but make sure that outlet is GFCI-protected.
Related Questions
Can I use heat tape on a coiled hose?
No. You must uncoil the hose so the tape lies flat. Coiling concentrates heat in one spot and can damage the hose or tape.
Does heat tape need to be plugged in constantly?
Yes, whenever temperatures are below freezing. Self-regulating tapes draw very little power (about 5–10 watts per foot) and are designed for continuous outdoor use. The digital display models let you verify it’s heating.
Will heat tape work with a 6-foot RV hose?
Yes—use the 6-foot Cupohus tape specifically. A longer tape on a short hose creates excess slack that can tangle.
Can I bury the heat tape under snow?
Only if the tape is rated for burial. The Cupohus tapes listed here are not rated for direct burial. Keep them above ground, and protect the plug from standing water.
Does heat tape drain the RV battery?
No—heat tape runs on 110–120V shore power. If you are boondocking without shore power, a heated hose won’t work. In that case, you need tank heating or a propane water supply setup.
For most RV owners, the combination of a quality RV drinking-water hose and a self-regulating heat tape (like the Cupohus 25FT digital display model) offers the best balance of cost, reliability, and longevity. Skip the cheap all-in-one heated hoses—they fail too soon. Wrap it yourself and camp confidently through the cold months.
Practical RV guides from an experienced owner. Motorhomes, travel trailers, truck campers — we have owned them, maintained them, and written the guides we wish we had found when we started.